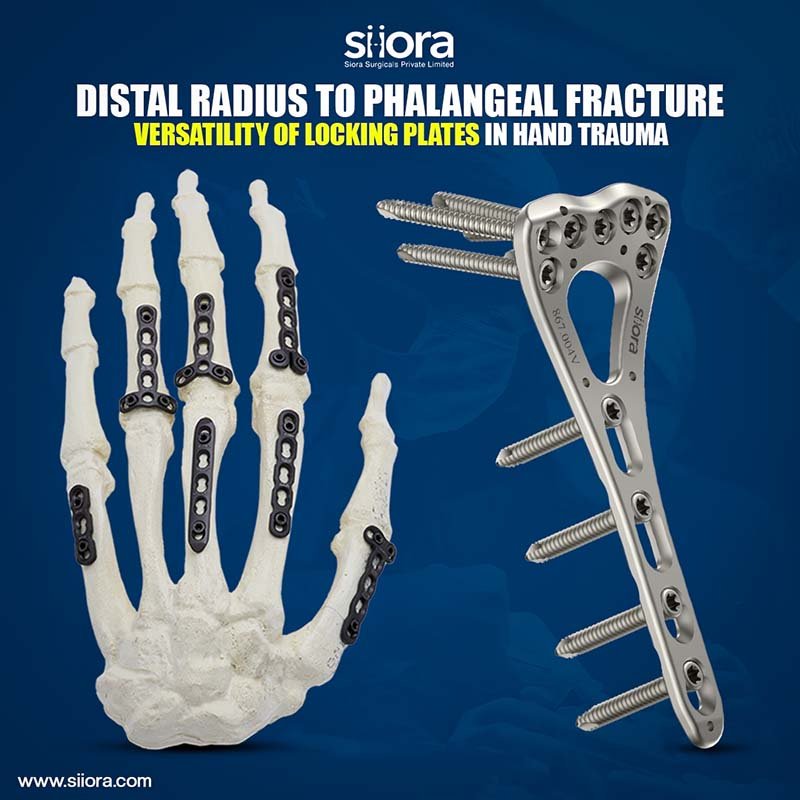
The volar rim distal radius plate 2.4 is a specialized low-profile implant designed for the fixation of complex intra-articular distal radius fractures, particularly those involving the volar lunate facet. Positioned at the volar rim, it provides stable support to prevent carpal subluxation while maintaining joint congruity. Its contoured design enables optimal placement with minimal soft tissue irritation. Here’s how this Volar Rim Distal Radius Plate 2.4 is placed surgically:
- Modified Henry approach taken to expose distal radius fracture. The fracture fragments are visualized under C-arm and reduced. K-wires are used to secure the fracture fragments.
- Appropriate size plate is inserted along volar aspect of distal end radius and if needed temporarily fixed with 1.25 mm K-wire.
- The elongated hole in the shaft of the plate is fixed first. For 2.4 mm cortical screw, 2.4 mm drill guide is used and pre-drilled with 1.8 mm drill bit (for 2.7mm cortical screw, 2.7 mm drill guide and 2.0 mm drill bit is used). The screw length is determined using depth gauze. Appropriate size self-tapping cortical screw is inserted with Star Drive T8 screwdriver shaft and quick coupling handle.
- The VA LCP Drill sleeve tip is inserted into the clover-leaf design of the VA locking hole and drilled with 1.8 mm drill bit. (Funnel of the drill sleeve allows the drill bit to be angled to 15 degree around the central axis of locking hole). The fixed angle end of drill sleeve allows the drill bit to follow the nominal trajectory of the VA locking hole.
- Alternatively, the freehand VA LCP drill sleeve can be used to drill at variable angle. Avoid angulating the drill bit more than 15 degree from central axis of the screw hole as it may cause improper locking of screw head and the head may not be fully countersunk. (The previous K wire can be used as a reference for the angulation of drill and screw).
- The screw length is determined directly by the laser mark on the drill bit. A depth gauge can also be used. (Volar rim distal radius guiding block can be used in combination with quick drill sleeve by putting it over the plate and then drilling it).
- The VA locking screws are inserted manually with self holding Star Drive T8 screwdriver shaft and quick coupling handle. The screws are tightened just enough for the screw head to be fully seated in the locking hole. (In pre-defined nominal angle technique, standard 2.4mm locking screws can also be used instead of VA locking screws).
- The reduction is checked under C-arm and screw lengths are checked to ensure it is not in joint.
- The torque limiter screw driver is used to ensure proper final tightening of the screw and preventing over-tightening.
- The wound is closed in layers. ASD done.